Listen
Your event is built. This is where you turn it on and get the invitation in front of people.
The Launch phase does three things. It makes your event live, it sends your invitations and reminders, and if you are using a personal identification number (PIN) page it gives you a code and a link to hand out. The wording of the emails was decided back in the Communications phase, so this is the phase where you choose who gets them, when, and on which channel.
This article walks through
Get to the Launch phase
There are two ways in, and everything else in this article happens from the page they take you to.
From within the Event Builder
- Click Launch in the left panel.
From Listen
- In the Live Events section or the All Events section, click Manage Event for the event you want to launch.
The Event Builder opens, displaying the Overview page. - In the left panel, click Launch.
The Review tab appears, showing a high-level summary of your event.
Make your event active
Making your event active is what opens it up. From that moment, anyone you invited can take it as soon as they log in to the platform, and you can start creating notifications. Activating the event does not contact anybody on its own, so there is no rush between this step and the next one.
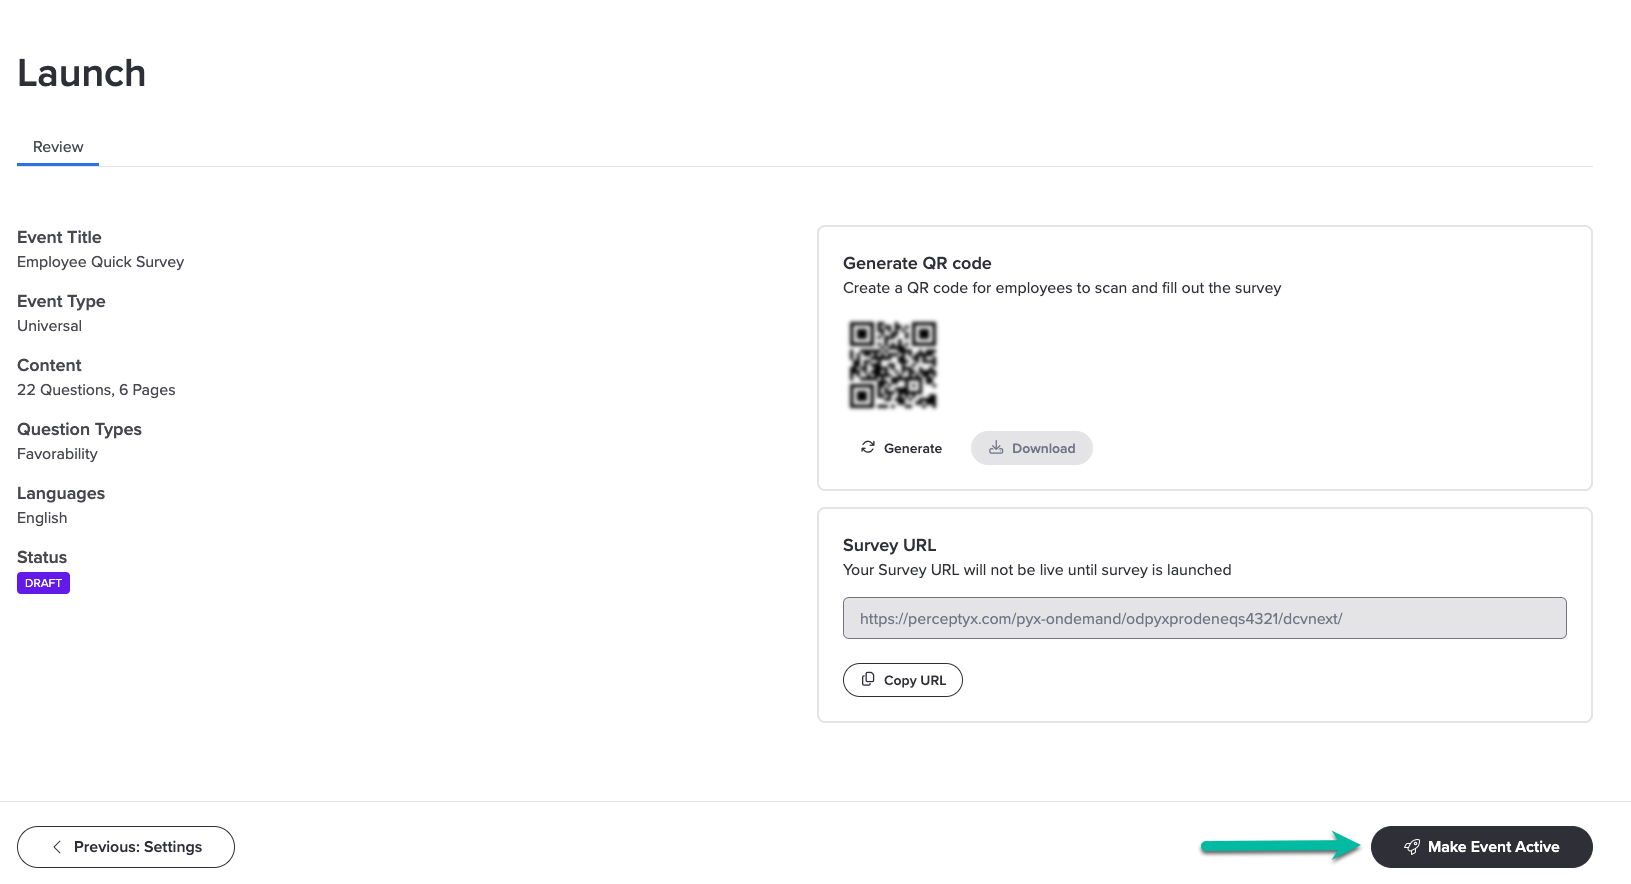
- Review the details for your event, then click Make Event Active at the bottom right.
A confirmation message appears. - Click Confirm.
A message appears asking whether you want to keep working on the event or head back to Listen. - Close the message by clicking the X icon, or click Go to Listen to return to the Listen page.
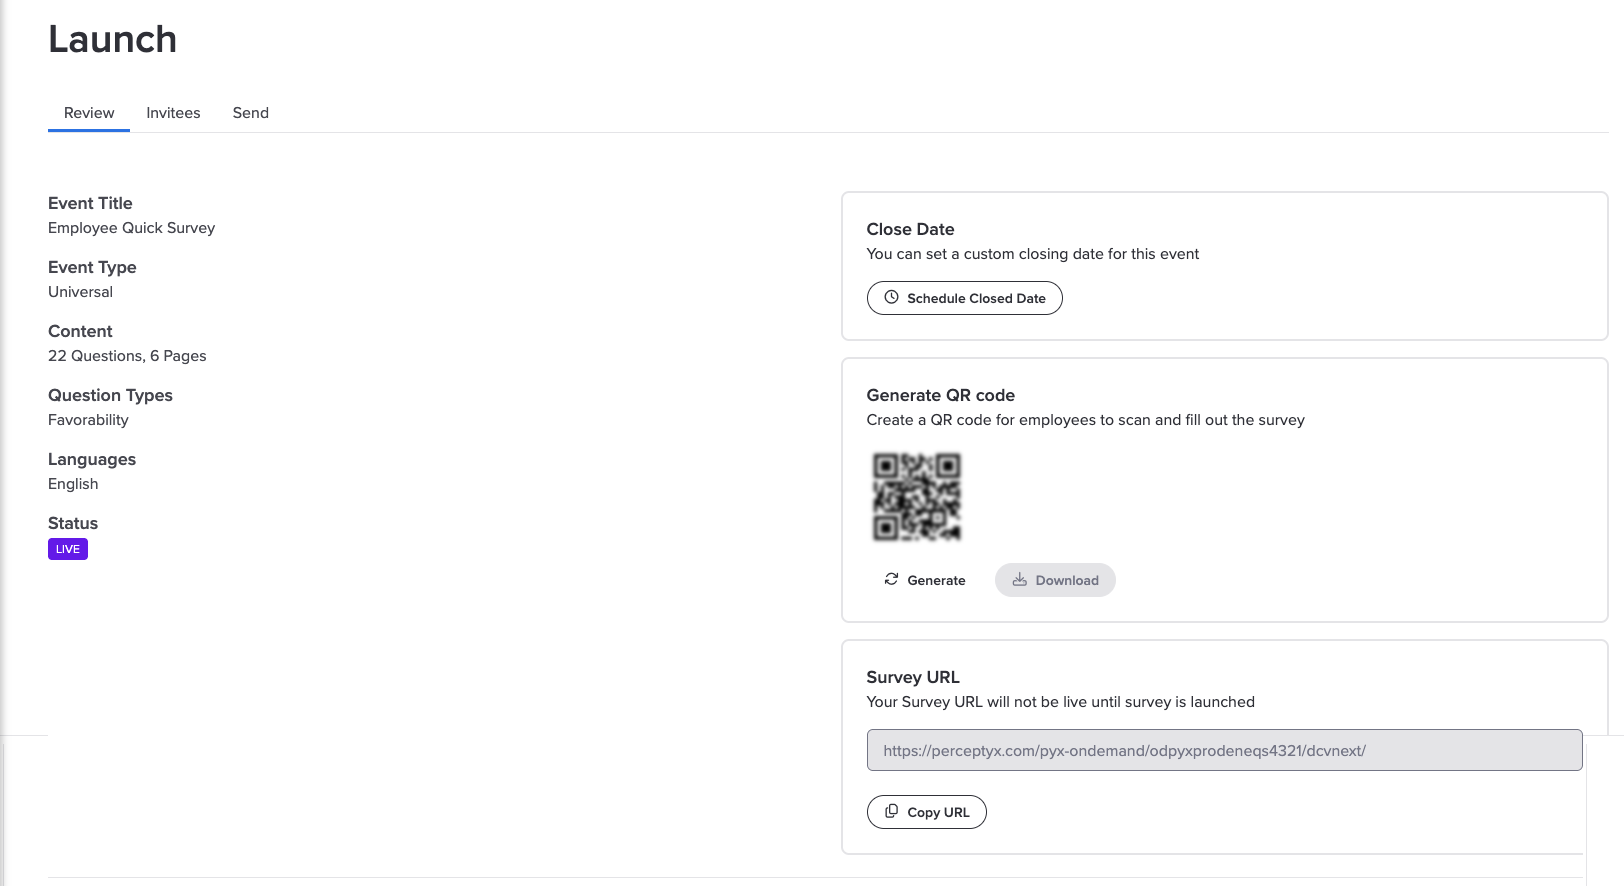
The event is now active, and a Close Date option appears on the tab. - To set when the event closes, click Schedule Closed Date, choose a date and time, then click Save.
Create and schedule notifications
Notifications are your invitations and reminders. Each one is built from a template you set up in the Communications phase, so here you are choosing which template goes to which group of people and when. You can create as many as you need, which is how most people handle an invitation followed by two or three reminders.
About scheduled times
Times you schedule use the time zone of the device you are working on when you set the schedule. They are not adjusted to each participant's local time, so if your audience is spread across regions, pick a time that lands reasonably for most of them.
- On the Launch page, click the Send tab.
- Click + New Email Notification.
The Create Email Notification dialog box appears. - Click the Email Template dropdown, then select a template.
- Click the Notification Status dropdown, then choose when it goes out.
Immediate Sends as soon as you save and confirm. The event link in the message is live right away. |
Schedule on Later Date You pick the date and time. The event link becomes live at that same moment, so nobody can get in early through the link. |
Draft Nothing sends. Use this to save your setup and come back to it when you are ready to pick a send option. |
- Click the Status of Recipients dropdown, then choose who receives it.
Not Finished Only people who have not clicked Submit on their survey yet. This is the one you want for reminders. It does not appear if everyone is getting into your event through the same shared link, because in that case there is no way to tell who has finished. |
Everyone Everyone invited, whether they have finished or not. |
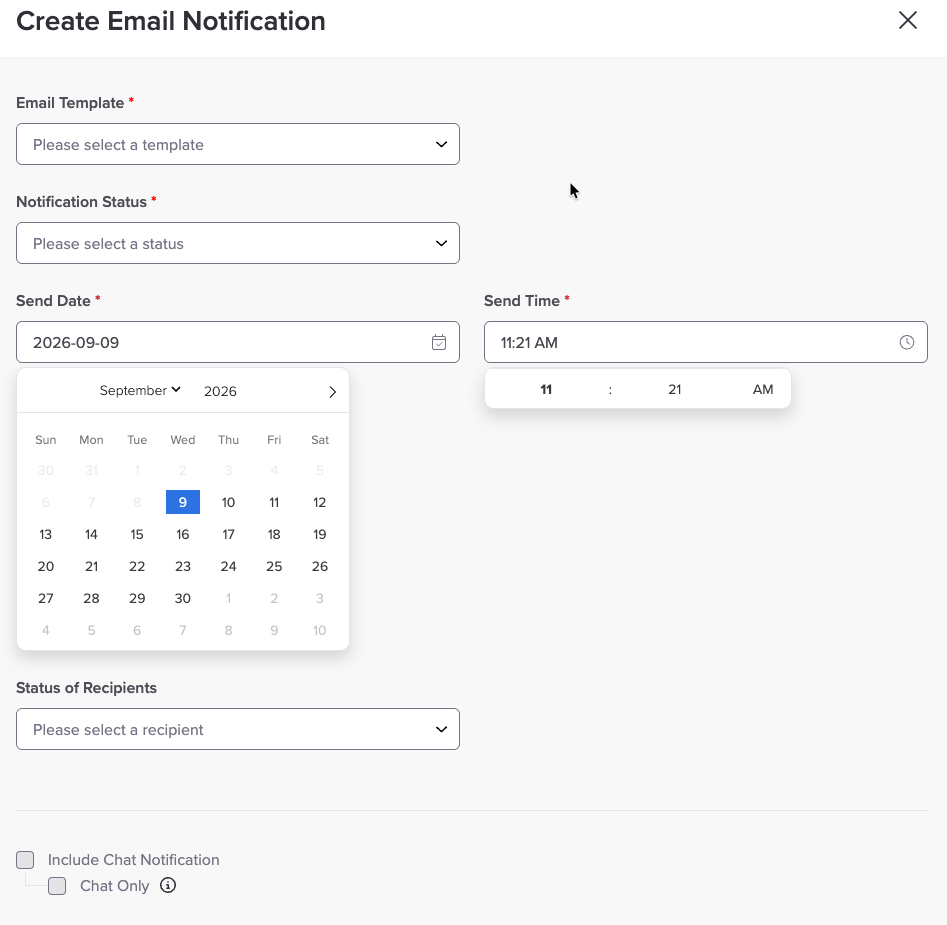
- If you want this notification delivered through chat, scroll down to the chat settings and use the check boxes described in Send through chat instead of email.
- Click Save.
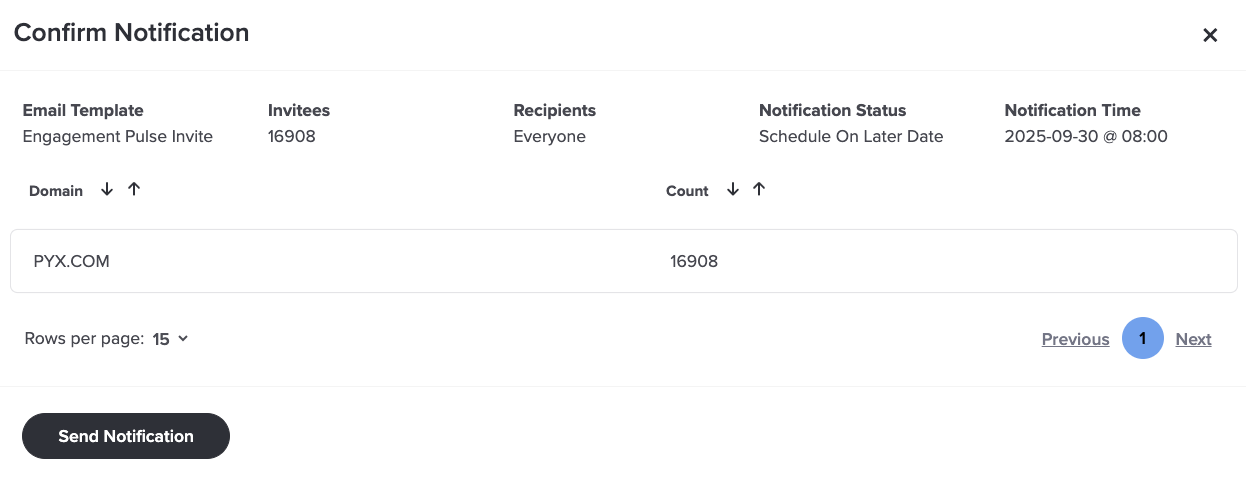
A Confirm Notification message appears. - Review your notification details, then click Send Notification.
The notification sends or is scheduled, and the status shows as Pending until it has reached everyone.
Checking on a notification
The Send tab does not update on its own. Click Refresh List at the top right to see where things stand. Once every message has gone out, the status changes from Pending to Complete.
Change or cancel a notification
- To edit it, click Action, then select Notification Settings.
- To cancel it, click Action, then select Delete.
Send through chat instead of email
If your organization uses the Perceptyx app for Microsoft Teams or Slack, a notification can arrive as a chat message. Two check boxes in the notification dialog box control this, and they do different things.
Include Chat Notification Adds a chat message on top of the email. Everyone in the audience gets both. |
Chat Only Becomes available once Include Chat Notification is checked. It holds back the email, so the chat message is the only thing that goes out. |
Chat Only is worth using for people who do not sit at a desk, who rarely open email, or whose whole working day happens in Teams or Slack. It also means you are not asking the same person twice for the same survey, which is one of the more reliable ways to get people to tune out invitations altogether.
You set this per notification, not for the whole event, so you can send one group a chat message and another group an email from the same event.
Before you can use it
Two things have to be in place before the chat check boxes will work. Your organization needs the Perceptyx app for Microsoft Teams or Slack set up, and the notification needs an email template selected, even when the message is going out through chat alone. Without that app in place, chat delivery is not available for your events. If you are not sure where your organization stands, your Perceptyx contact can tell you.
Worth knowing before you turn on Chat Only
- The email template you selected is not used. Chat Only needs a template chosen before it will let you save, but nothing is sent from it, so do not count on the wording in that template reaching anyone.
- There is no email backup. Anyone in the audience who does not have the chat app installed will not receive this notification at all, so check that your audience is set up for chat before you rely on it.
- Nothing here is permanent. Clear Chat Only and that notification goes back to normal email delivery. There is nothing to rebuild.
- If your organization delivers notifications to a different messaging service through a webhook connection rather than through Teams or Slack, these same settings apply to it.
Share a code or a link (PIN page only)
If you turned on the PIN page for your event, which is the page where participants enter a personal identification number to get in, the Launch phase also gives you a quick response (QR) code and a link you can hand out yourself. This is how you reach people who do not have a work email address.
If you are distributing the event yourself
If you chose the Distribute Yourself - Create PIN Page Link delivery method in the Invite phase, there is no Send tab on the Launch page. The code and the link below are how people get into your event.
Generate a quick response code
- In the Generate QR Code section, click Generate.
The code is created. - Click Download.
The image saves to wherever your downloads normally go.
From there you can put it on a poster, a break room screen, a payslip, or anywhere else your people will actually see it.
Copy the link
- In the Survey URL section, click Copy URL.
The link is copied to your clipboard.
Paste it into an email, an intranet post, or wherever you are explaining how to take part. The link will not work until your event is active, so you can share the instructions ahead of time without anyone getting in early.
What's next
Your event is live and your invitations are out. Manage Your Active Listening Event covers watching your response rate, adding people you missed, and closing the event when you are done.
Was this article helpful?
That’s Great!
Thank you for your feedback
Sorry! We couldn't be helpful
Thank you for your feedback
Feedback sent
We appreciate your effort and will try to fix the article